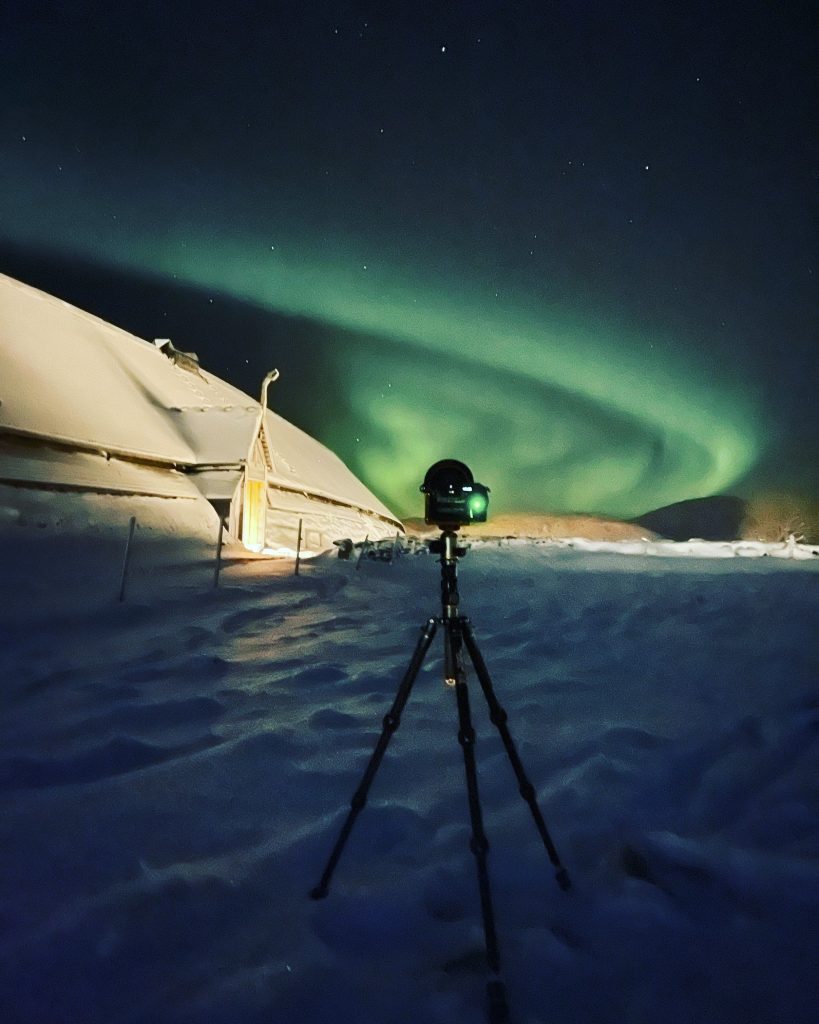
Tips for Capturing Aurora Photos with Your iPhone
Taking stunning photos of the aurora borealis, or northern lights, can be a thrilling experience. While professional cameras have their advantages, your iPhone is more than capable of capturing breathtaking images of this natural phenomenon. Here’s how you can enhance your aurora photography using just your iPhone.
1. Choose the Right Location
To photograph the aurora, it’s crucial to be in a location with minimal light pollution. Look for areas away from city lights, ideally around the Arctic Circle or other locations known for aurora sightings. Apps like Light Pollution Map can help you find the darkest spots.
2. Check Aurora Forecasts
Stay updated with aurora forecasts to know when conditions will be optimal. Websites and apps dedicated to aurora tracking can provide real-time data on geomagnetic activity and cloud cover, ensuring you’re in the right place at the right time.
3. Use the Night Mode Feature
If you have an iPhone 11 or newer, take advantage of the Night Mode feature. This allows for longer exposure times, letting more light in for clearer images of the aurora. When Night Mode is on, a yellow moon icon will appear, and you can adjust the exposure time up to 30 seconds.
4. Use a Tripod or Stable Surface
Stability is key when capturing long exposure photos. If you don’t have a tripod, find another stable surface to place your iPhone on. Even a backpack or a stack of rocks can provide enough support to prevent camera shake.
5. Adjust Camera Settings Manually
If you’re using a newer iPhone, you can adjust exposure settings in the camera app. Tap to focus on the aurora, then slide the exposure slider to the left to minimize light and reduce blur. Experiment with different exposure settings to capture the best shot.
6. Utilize Third-Party Camera Apps
Consider using third-party photography apps like Halide, Camera+2, or Moment which offer advanced settings such as manual control over ISO, shutter speed, and focus. These apps can provide more flexibility compared to the default camera app.
7. Capture RAW Images
If your iPhone supports RAW shooting, enable it through your camera settings or third-party apps. RAW images retain more detail and allow for more extensive editing afterward, ensuring better final results.
8. Experiment with Composition
While composition might seem secondary to the aurora itself, including foreground elements like trees, mountains, or lakes can add depth to your photos. Experiment with different angles and perspectives for unique shots.
9. Be Patient and Keep Shooting
Auroras can be unpredictable; they may appear and disappear quickly. Keep your iPhone ready and be patient. Take multiple shots to increase your chances of capturing a memorable moment.
10. Edit Your Photos
After your shoot, spend some time editing in apps like Adobe Lightroom or Snapseed. Adjusting brightness, contrast, and color balance can significantly enhance your photos and bring out the vivid colors of the aurora.
Conclusion
Capturing the beauty of the aurora borealis with your iPhone is entirely possible with the right techniques and patience. By choosing the right location, utilizing your phone’s features, and being creative, you can take stunning aurora photos that you’ll cherish forever. Happy shooting!
