Best iPhone Settings for Capturing Northern Lights
Photographing the Northern Lights can be a breathtaking experience, and having the right settings on your iPhone can make a significant difference. Here are some optimal settings and tips to help you capture this natural wonder.
1. Use Night Mode
- Access Night Mode: Ensure that Night Mode is activated on your iPhone. This feature is available on iPhone 11 and later models.
- Adjust Exposure: Night Mode will automatically adjust exposure time. However, you can manually set it by tapping the moon icon and sliding to your preferred exposure time (up to 30 seconds).
2. Set up the Camera
- Use a Tripod: A stable platform is crucial for long exposures. Use a tripod or place your phone on a stable surface to minimize shaking.
- Use a Timer: To avoid camera shake when pressing the shutter button, use the self-timer feature to capture the shot.
3. Adjust the Camera Settings
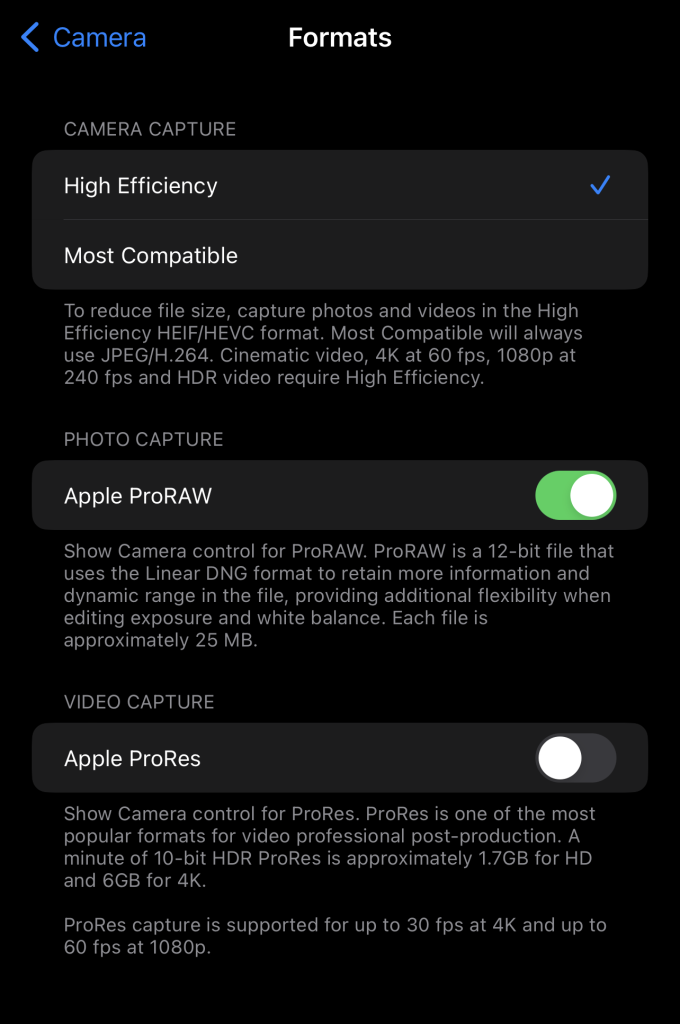
- Set to RAW: If your iPhone supports it, consider shooting in RAW format for better post-processing flexibility.
- Focus Manually: Tap the screen to focus on the horizon or the lights. You can lock the focus by pressing and holding until you see the AF/AE Lock indicator.
4. Manage Your Exposure
- Lower the ISO: Keeping the ISO lower (around 100-200) will reduce noise and produce a cleaner image.
- Watch the Exposure Slider: Drag to increase or decrease exposure as needed. Start with 1-2 seconds and adjust based on results.
5. Plan Your Shoot
- Check Aurora Forecasts: Use apps or websites to predict the likelihood of Northern Lights visibility in your area.
- Choose the Right Location: Find a dark area away from light pollution for the best results.
6. Use Editing Apps for Post-Processing
- Enhance Your Photos: Post-process your images with editing apps like Snapseed or Lightroom to enhance colors, contrast, and sharpness.
Conclusion
Capturing the Northern Lights with your iPhone can be an incredible experience. By optimizing your camera settings, planning effectively, and using post-processing, you can create stunning photographs that truly reflect the beauty of this natural phenomenon. Happy shooting!
