How to Photograph Northern Lights on iPhone
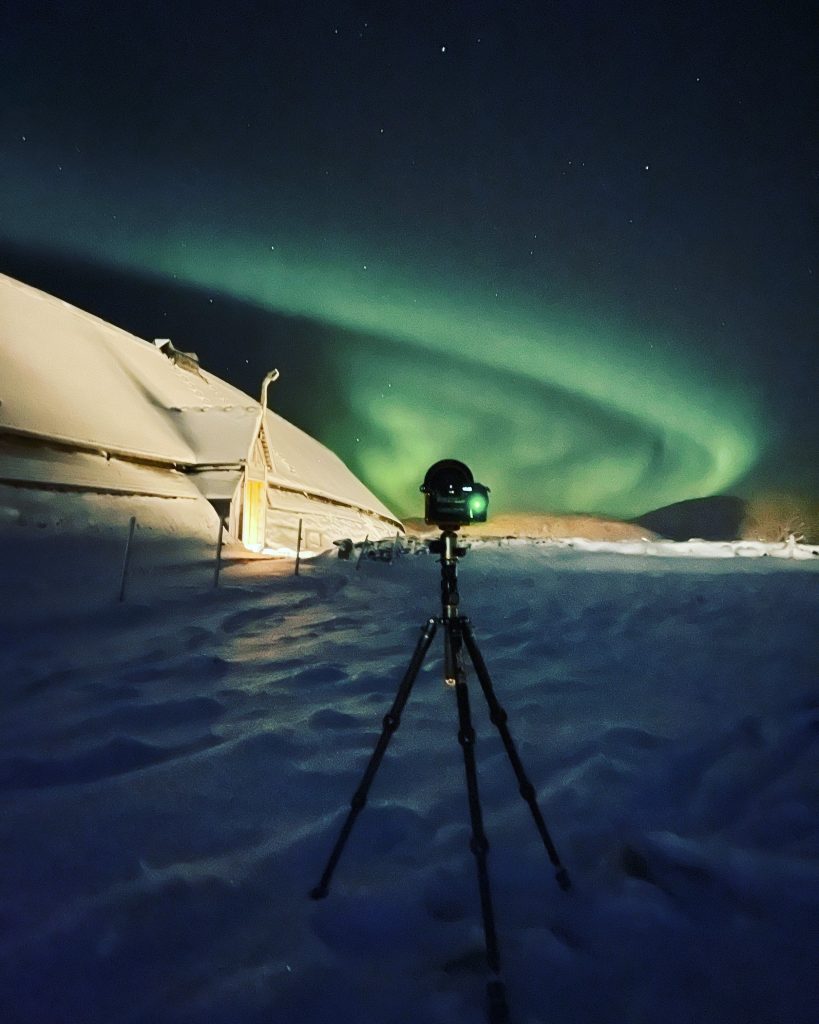
Capturing the mesmerizing beauty of the Northern Lights (Aurora Borealis) can be a rewarding experience, especially using a device like your iPhone. With the right techniques and settings, you can take stunning photographs. Here’s a step-by-step guide to help you.
1. Choose the Right Location and Time
- Location: Find a dark area away from city lights. Locations within the polar regions or places with minimal light pollution are ideal.
- Timing: The best time to see the Northern Lights is during the winter months. Check aurora forecasts and aim for nights with clear skies.
2. Use the Right iPhone Model
- Newer iPhone models, especially those with Night Mode (iPhone 11 and later), will perform better in low-light conditions.
3. Enable Night Mode
- Open the Camera app and point it toward the Northern Lights.
- If Night Mode is available, it will automatically activate in low-light conditions. You can adjust the exposure time (up to 30 seconds) by tapping the moon icon and sliding the dial.
4. Stabilize Your iPhone
- Use a tripod or place your iPhone on a stable surface to prevent shaking. Long exposures capture more light, and stability is essential for clear images.
5. Adjust Your Settings
- Focus: Tap on the screen where the lights appear to focus on them. Alternatively, you may lock focus on an object in the foreground.
- Exposure: If you have manual camera apps, adjust the ISO and shutter speed for the best results. Start with an ISO of 800-1600 and a shutter speed of 10-30 seconds.
6. Use Live Photo Mode
- Activate Live Photos to capture a few seconds of movement. This can sometimes lead to more dynamic images of the auroras.
7. Consider Additional Apps
- Explore third-party photography apps like ProCam or Halide that provide more manual controls over exposure settings and focus.
8. Post-Processing
- Use editing apps like Lightroom, Snapseed, or the built-in Photos app to enhance your images. You can adjust brightness, contrast, and saturation to highlight the colors of the auroras.
9. Practice Patience
- Photographing the Northern Lights requires patience and practice. Don’t hesitate to take multiple shots to capture the best moment.
By following these steps, you can create stunning photographs of the Northern Lights using your iPhone. Happy shooting!
